Posts

Showing posts from December, 2018

How to Play Alexa Podcasts using TuneIn and AnyPod

Image
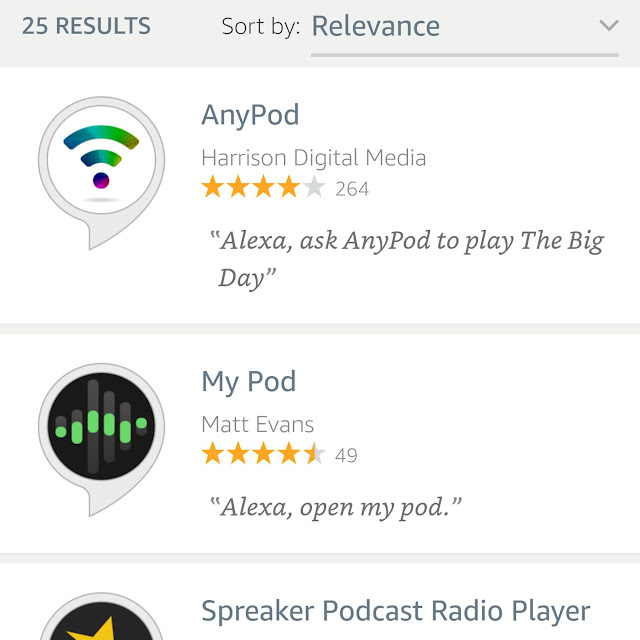
People who listen to podcasts will be delighted to play them on their Echo speakers. With the help of Alexa, Echo owners can listen to podcasts. Let’s explore the different ways of listening to podcasts on Amazon Echo devices. Listening to podcasts on Amazon Alexa via TuneIn TuneIn contains a number of podcasts that the users can subscribe and play. In order to play TuneIn podcasts, simply launch the Alexa phone application and tap the Music and Books tab. Select TuneIn from the list of music services. Since TuneIn is essentially a radio application, you will have to navigate to the end of the screen to locate the podcasts feature. Now, you can browse what you wish to subscribe to. After locating the podcast you are interested in, just touch it, and it will start playing on your Echo. Usually, at this point, you can try some verbal commands. Listening to podcasts on Amazon Alexa via AnyPod If you want additional choices as compared to the ones you usually get, then yo

Guide to Add Friends on Snapchat

Image
Snapchat is a mobile Application used around the world for Android and iOS devices. The primary feature of Snapchat is that it allows pictures, messages, and video send by you to the receiver and this is available for only a short period before it becomes inaccessible. Below is the guide to add friends on Snapchat: Method 1. Adding Friends by Username Search your friend’s username. Trading the username is the primary way for people to add each other on Snapchat. It helps to add people who are not in your phone’s contact menu. You cannot add someone to Snapchat using an email address or real name. You must ask what the Snapchat username of a person is. Swipe below anywhere on the Snapchat camera screen. You’ll see your Snapcode, display name, username, and Snapchat score. Hit “Add Friends.” It will launch the Add Friends menu. Hit “Add by Username.” It will launch the user search. Enter the full username of the person you want to add. You must enter the complete username to

How to Delete History on iOS Device

Image
Your iOS device has a lot of history regarding whatever you do in your web browser. This is to make things simpler for you, like tracking down a site you have to go through or searching a call you missed. If you are worried that someone will see your browsing history that they should not, you can delete the history for different services on your iOS, or clear everything completely. There are three methods of clearing history on an iPhone: Browsing History in Safari Go to the Settings applications. You will delete your browsing history from the setting applications, but not from the app like Safari. You can clear your browsing history in Safari, and this will not delete any details or cookies. Deleting your browsing history by the Setting application, this will show that all the things are removed. Go down and click “Safari.” You will get this in the fifth group of options. Go down in the Safari menu list and click “Clear History and Site Data”. A display will ask t

How to Leave a Facebook Group

Image
Facebook Group is pretty useful if it correlates you in some way, be it professional or personal. But sometimes some random group or the group which you’re not relatable to you added you in the group and that’s when they get into your nerves and also very time-consuming.Thankfully, the process to leave a group on Facebook is as easy as joining one. You can easily exit from a Facebook group, if it no longer serves your purpose, or for privacy concerns. You can exit Facebook groups from computer as well as mobile phones. These are some steps to leave a Facebook group. On Android and iOS Devices Log in to your Facebook account Press the lower right corner of your screen if you are using iOS or hit the upper right corner of the screen if you are Android users. Press “Groups”- This you’ll find in the “EXPLORE’ categories of options –    Users have to scroll down to see this option Choose the group you wish to leave – Press a group to launch its page. Press “Join

How to get a subscription to PlayStation Plus On PS3

Image
In this article we’re going to teach you how you can get a subscription to PlayStation Plus on PS3, these are the steps you have to follow: Switch on your Playstation 3. – You can do this by hitting the console’s “On” Button or by selecting a connected controller PS button. Choose a profile and select “X” – This will sign into your PlayStation 3’s homepage. Scroll right to press “PlayStation Network”, then click “X’. Depends on your PS3’s software version, this option may rather say PSN. Press “ Sign In” and press “X”- This is the option you’ll find on the right side of home page. If the top option here says Account Management, select it, hit X, and skip the next three steps. Enter email and password –You have to fill the credentials you use to sign into the PlayStation website. Tap “Sign In” and Select “X” – It will log you into the PlayStation Network. Verify “Account Management” is selected and Hit “X”. Choose PlayStation Plus and press X Choose a subscription type a